Setting up a bass viol
This week I’ve been setting up a bass viol. The viol is based on a 1660 Richard Meares viol that is currently in the Royal College of Music Museum in London. I recently finished varnishing it and it is ready to be set up.
Here is my todo list for the week:
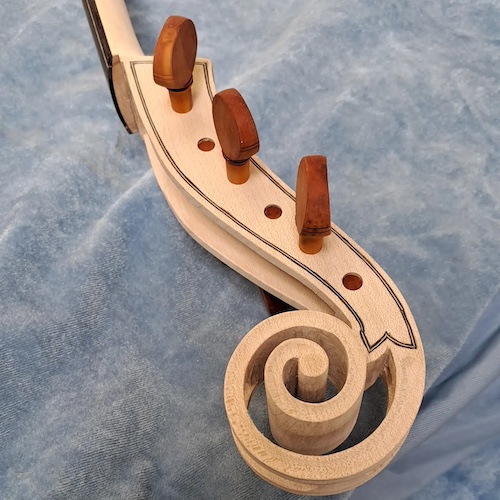
- Finish the pegs: ensure the holes match the strings (which I now have), clean the peg holes from any excess varnish and check the fit. The pegs are all handmade and so I take a great deal of care with them and their fit into the pegbox.

Pegs in the pegbox
- The tailpiece is complete, but I have been making sure the strings fit through the holes as well as making a slight chamfer to the leading edge of the hole. Using a piece of old gut string to burnish the hole also helps compress the wood.
- Making a nut: the original nut on the Meares is most probably ivory. It has a quite unusual rounded front, unlike the sharper edges one normally sees. I am making the nut from bone.
- Marking the bridge position: before fitting the soundpost, the bridge position needs to be ascertained. This is done by measuring from the nut, but also checking the side to side movement by sighting along the fingerboard (or using a dummy set of high and low D strings to check the alignment). It is also important to check the straightness by measuring the corners from the corners of the fingerboard.
- Making and fitting the soundpost: the soundpost starts life as a split chunk of spruce and is carefully shaped into a cylinder using a small plane and a bit of sandpaper. It is then cut to the approximate size and then carefully fitted using a knife to angle the top end to fit the inside of the viol’s front.
- Fitting the bridge feet: once the soundpost is fitted, the bridge feet can be fitted. I am using the design from William Monical’s book Shapes of the Baroque. The original bridge from the Meares has been lost in the last 40 years unfortunately. A small piece of wood is shaped between the bridge feet to spread them (approx 1mm wider) to simulate the effect of string tension. Then the feet are carefully shaped with a knife to fit perfectly to the outside of the viol. After getting close by eye, I use a bit of oil paint on the belly of the viol to mark the high points. This comes off easily once finished if the viol is varnished. A square also helps ensure the viol bridge is upright.

The bridge with the spreader
- Once the bridge feet are fitted the string height of the low and high D strings can be set by adjusting the nut and bridge slots. It is worth putting at least one fret on to check the string height at the nut.
- Once the two outlying strings are set perfectly the positions and heights of the remaining strings can be set.
- The bridge can be properly thinned, shaped and adjusted once the feet and the strings fit perfectly.
- The nut can be polished and glued in place.
- The viol can finally be strung up and heard for the first time!